First run
The first sign-in on a fresh install lands in a setup wizard rather than the dashboard. It unlocks the node, creates the cluster, gives it storage, and defines at least one network zone. It takes a couple of minutes.
Every screenshot below is a real capture of the wizard on a freshly installed Debian 13 node. Addresses and MAC addresses in them are fictional; nothing else has been touched.
The wizard keeps its state in memory. Reloading the page drops you back to step 1 and the password you used is already spent. If that happens, mint another with
proxdock recovery-passwordand start again. Nothing is written until the last step.
What the installer left you
Installing the package starts the service and prints a banner. That banner is the only place the initial password appears:
──────────────────────────────────────────────────────────────
 proxdock installed and running.

   Web UI:            https://10.42.0.11:8443
   Initial password:  GdYW-EQHX-VX6k-Hx8H

 Log in with an EMPTY username to complete setup. The password
 is single-use and is invalidated when setup completes.
 If locked out later:  proxdock recovery-password
──────────────────────────────────────────────────────────────
The node serves a self-signed certificate until it has a cluster CA, so your browser will warn you. That is expected on a first run; see certificates.md for making it stop.
Lost the banner, or scrolled past it? Run this as root on the host. It is single-use, good for that node only, and expires after fifteen minutes.
proxdock recovery-password
1. Unlock
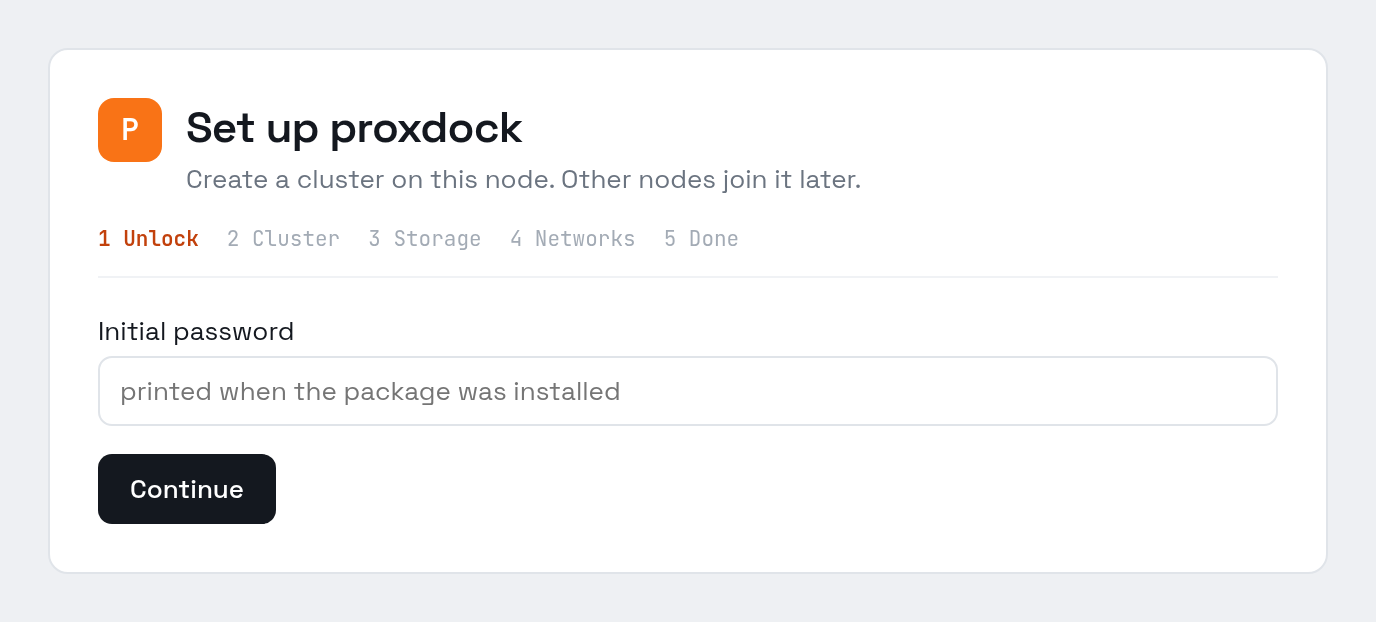
Leave the username empty and paste the initial password.
2. Create or join
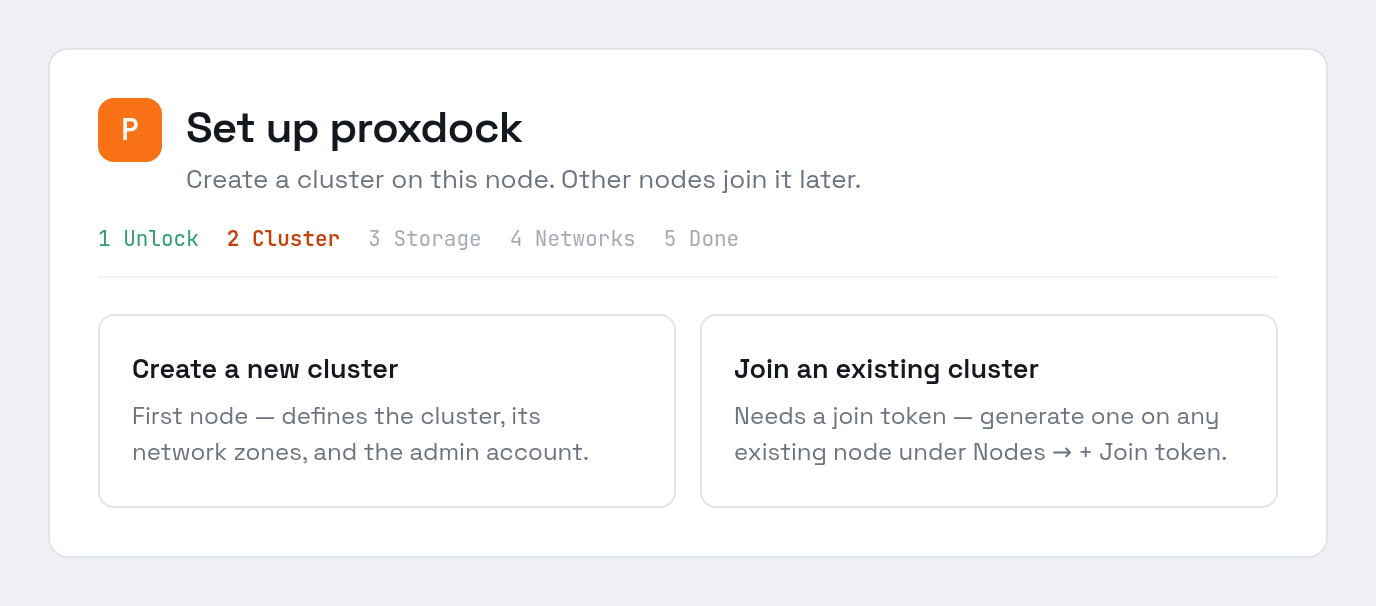
A single node is a valid cluster. Joining is for the second node onwards, and needs a token generated on a node that already exists.
3. Name the cluster and give it storage

The cluster name is set once and is not currently changeable. It appears in the UI header and in the window title, so something short is easiest to live with.
Application storage is where every application's dataset will be created. This field names a pool that already exists — if you have made one yourself, type it here and move on.
If you have not made a pool yet, do not type a name into that field. Naming a pool that does not exist is accepted, and the cluster is created against it. Use the disk picker below instead, which fills the field in for you once the pool is real.
Creating a pool from a blank disk
Only disks with no partitions, no filesystem signatures and no partition table are offered. Everything else is listed greyed out with the reason attached, so you can see that a disk was considered and why it was refused.

Pick the disks, name the pool, choose a topology, then press Create pool. This is a separate action, not part of Continue — the pool is created right then, before the cluster exists.
Devices are added by their stable /dev/disk/by-id names, never /dev/sdX, so
the pool survives the kernel enumerating disks in a different order after a
reboot.

The admin account

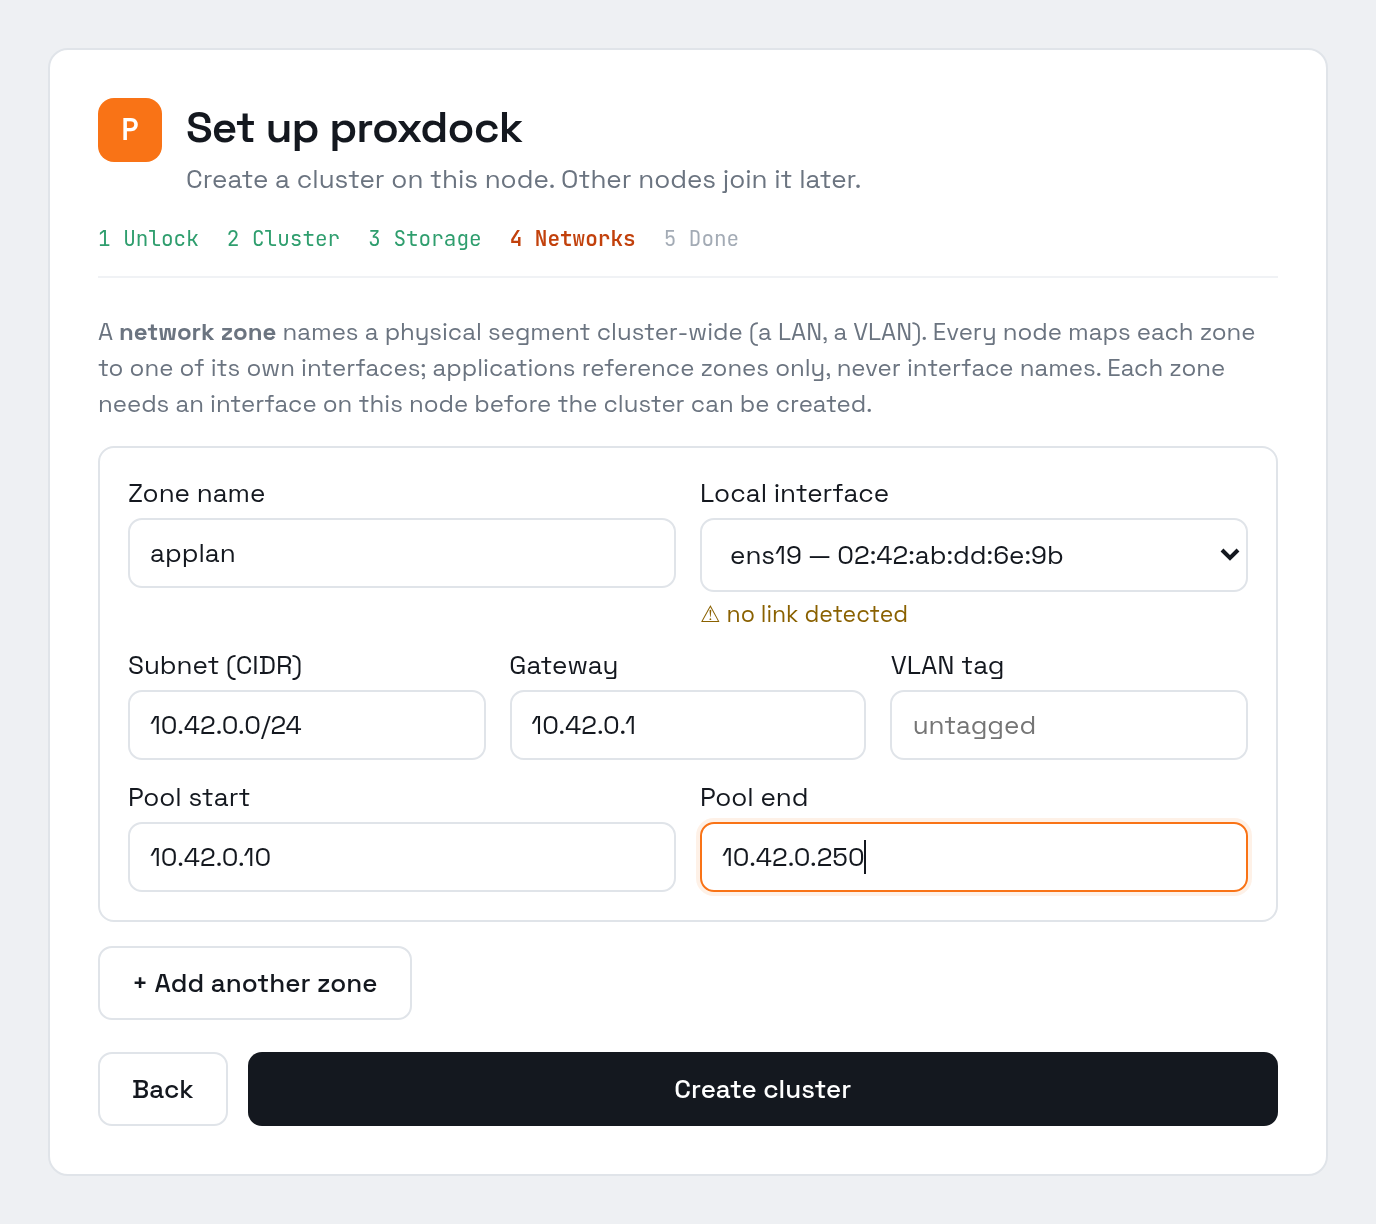
4. Network zones
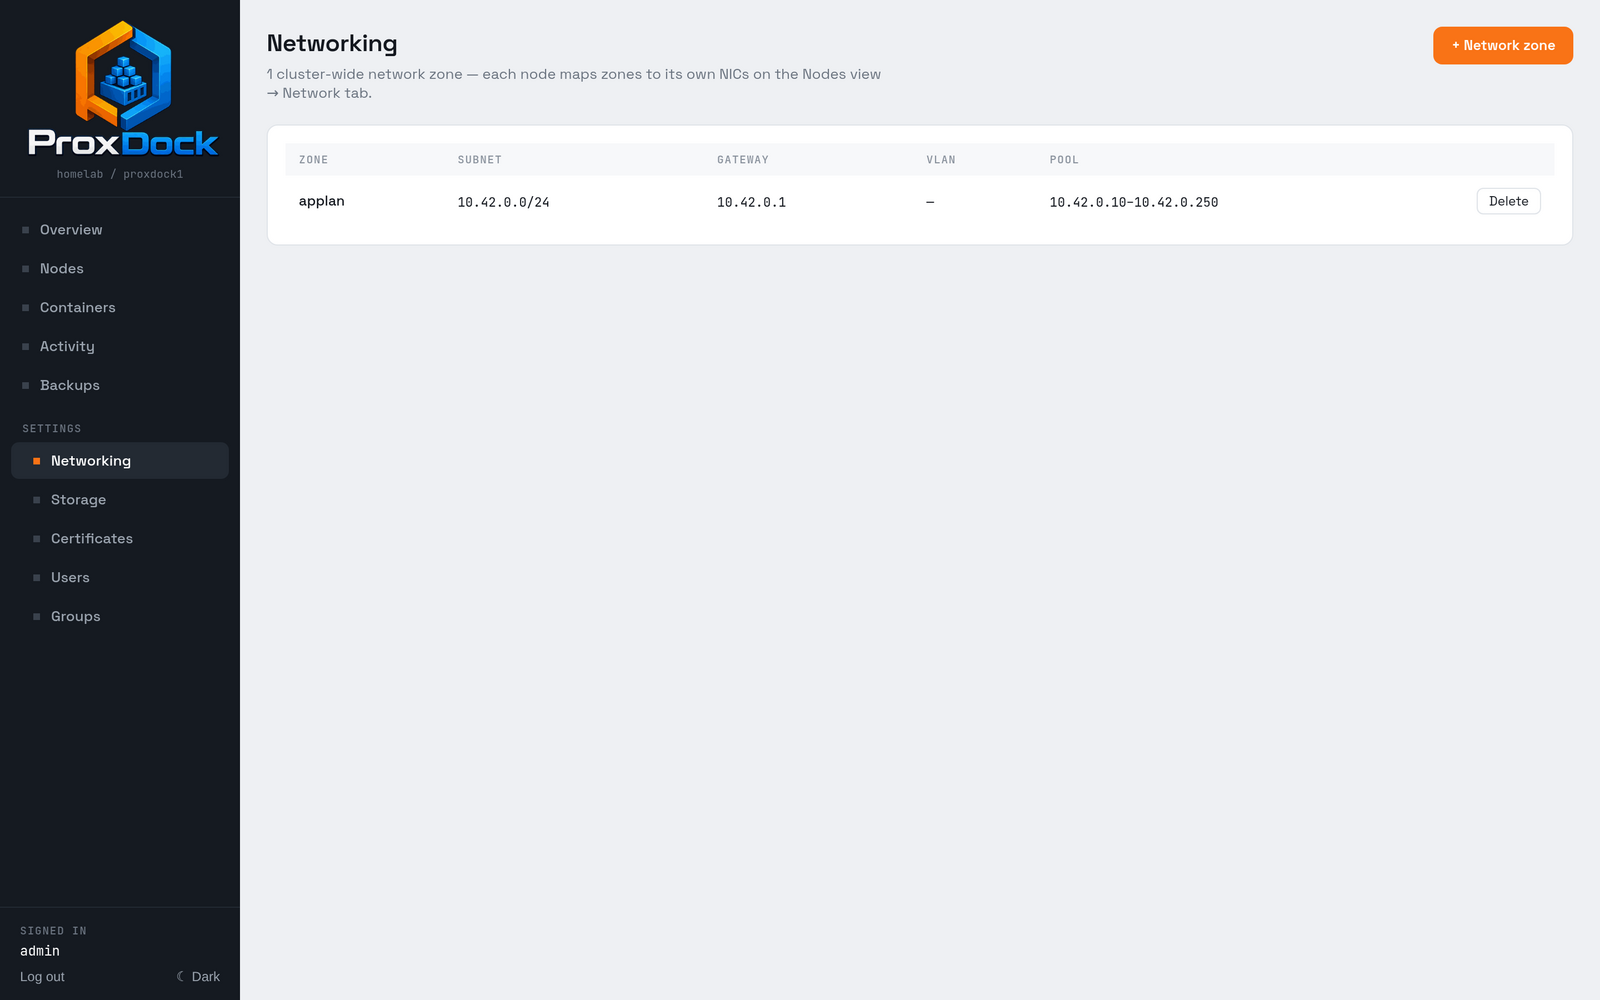
A zone names a physical segment cluster-wide — a LAN, a VLAN. Every node maps each zone to one of its own interfaces, and applications reference the zone, never an interface name. That indirection is what lets an application migrate to a node whose NICs are named differently.
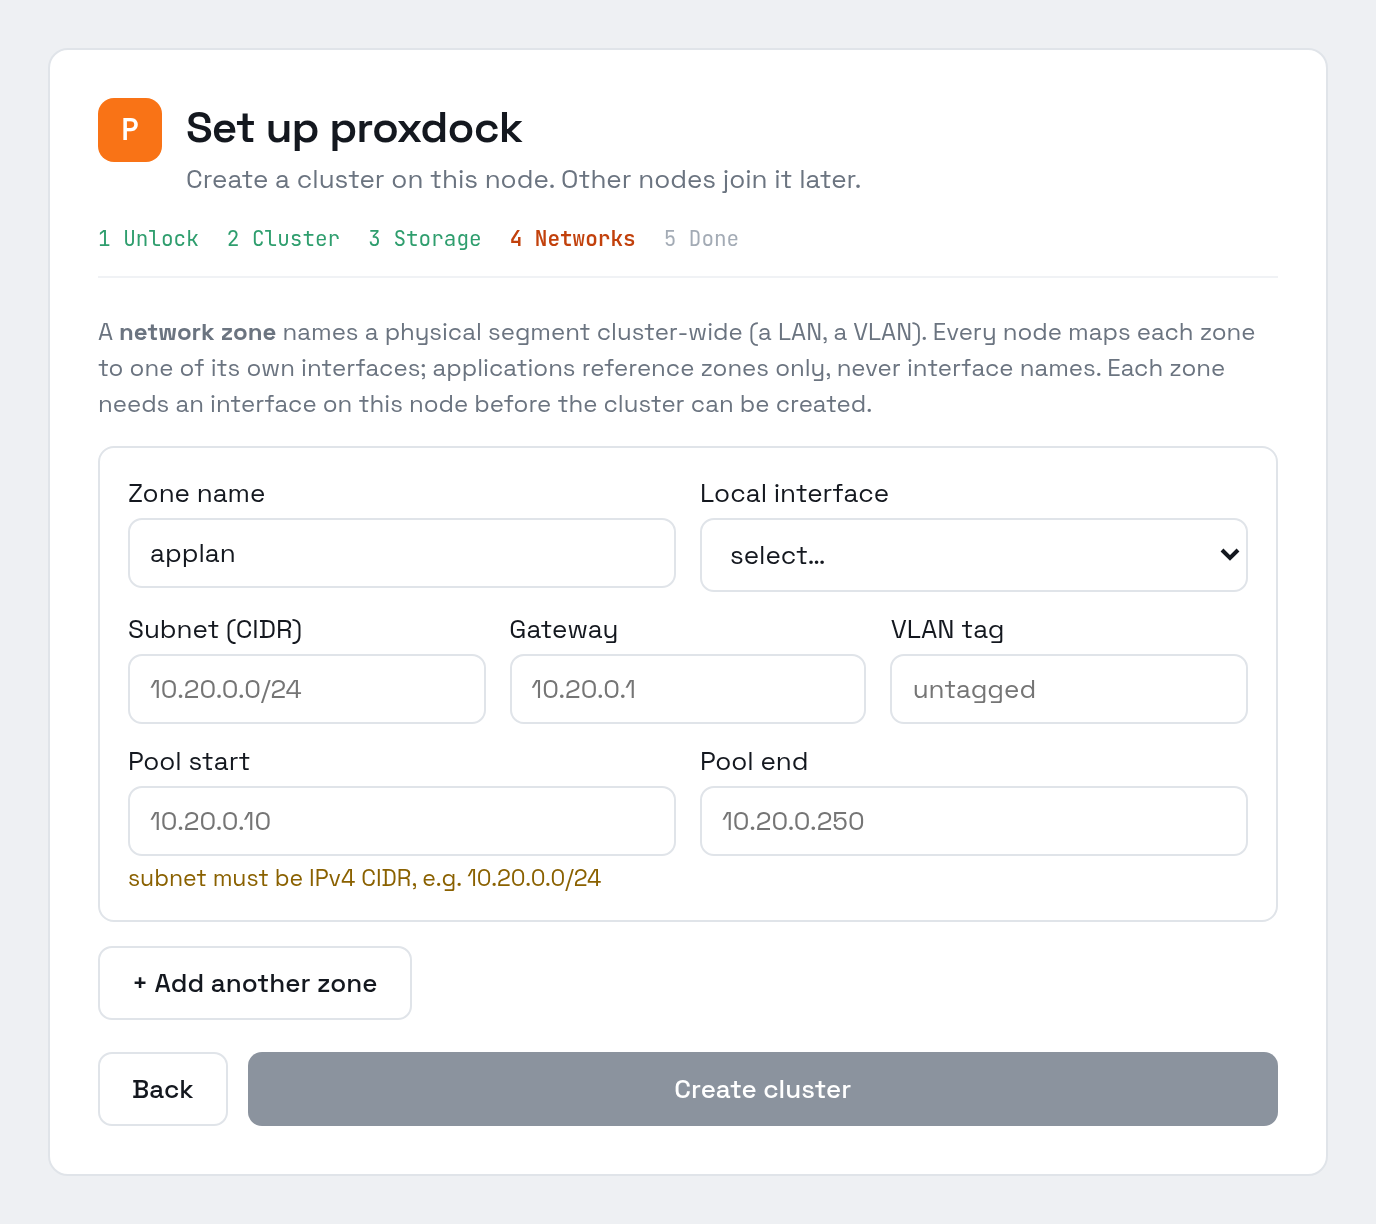
Each application gets a real address from the pool range you set here, with a MAC derived from that address.
The pool range must not overlap anything your DHCP server hands out. ProxDock allocates from it directly and does not ask DHCP first.
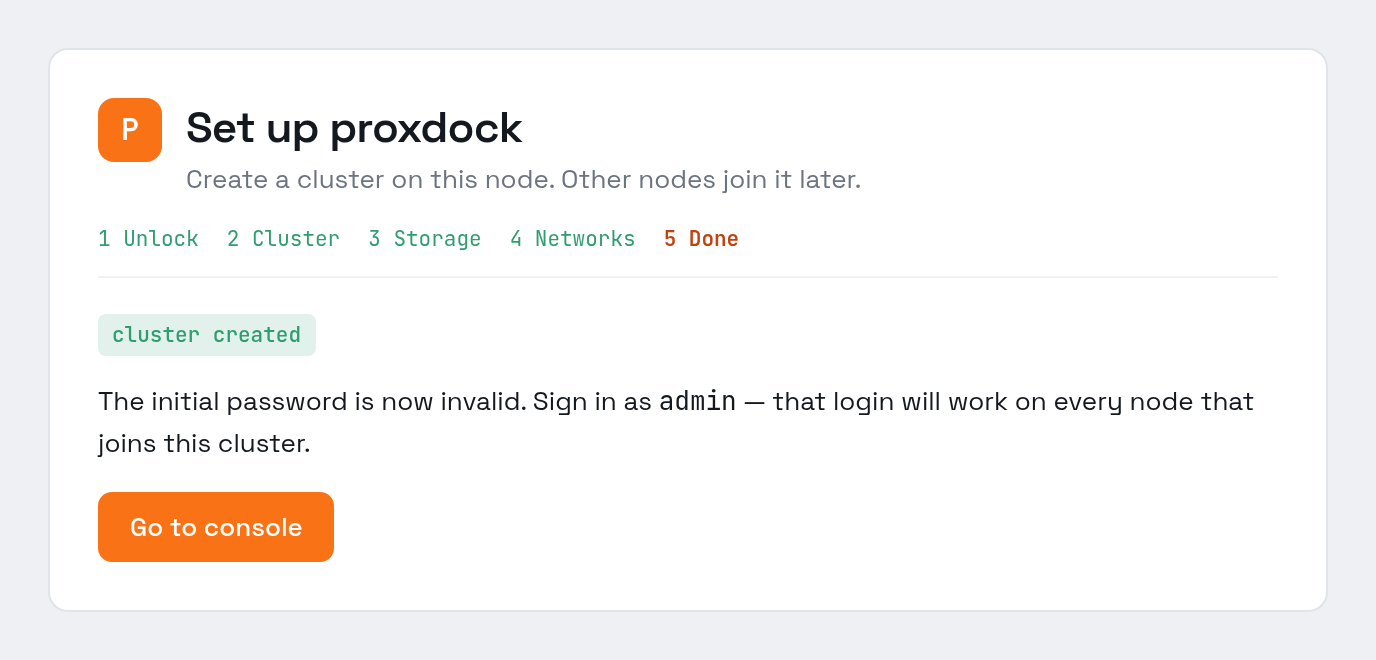
5. Done
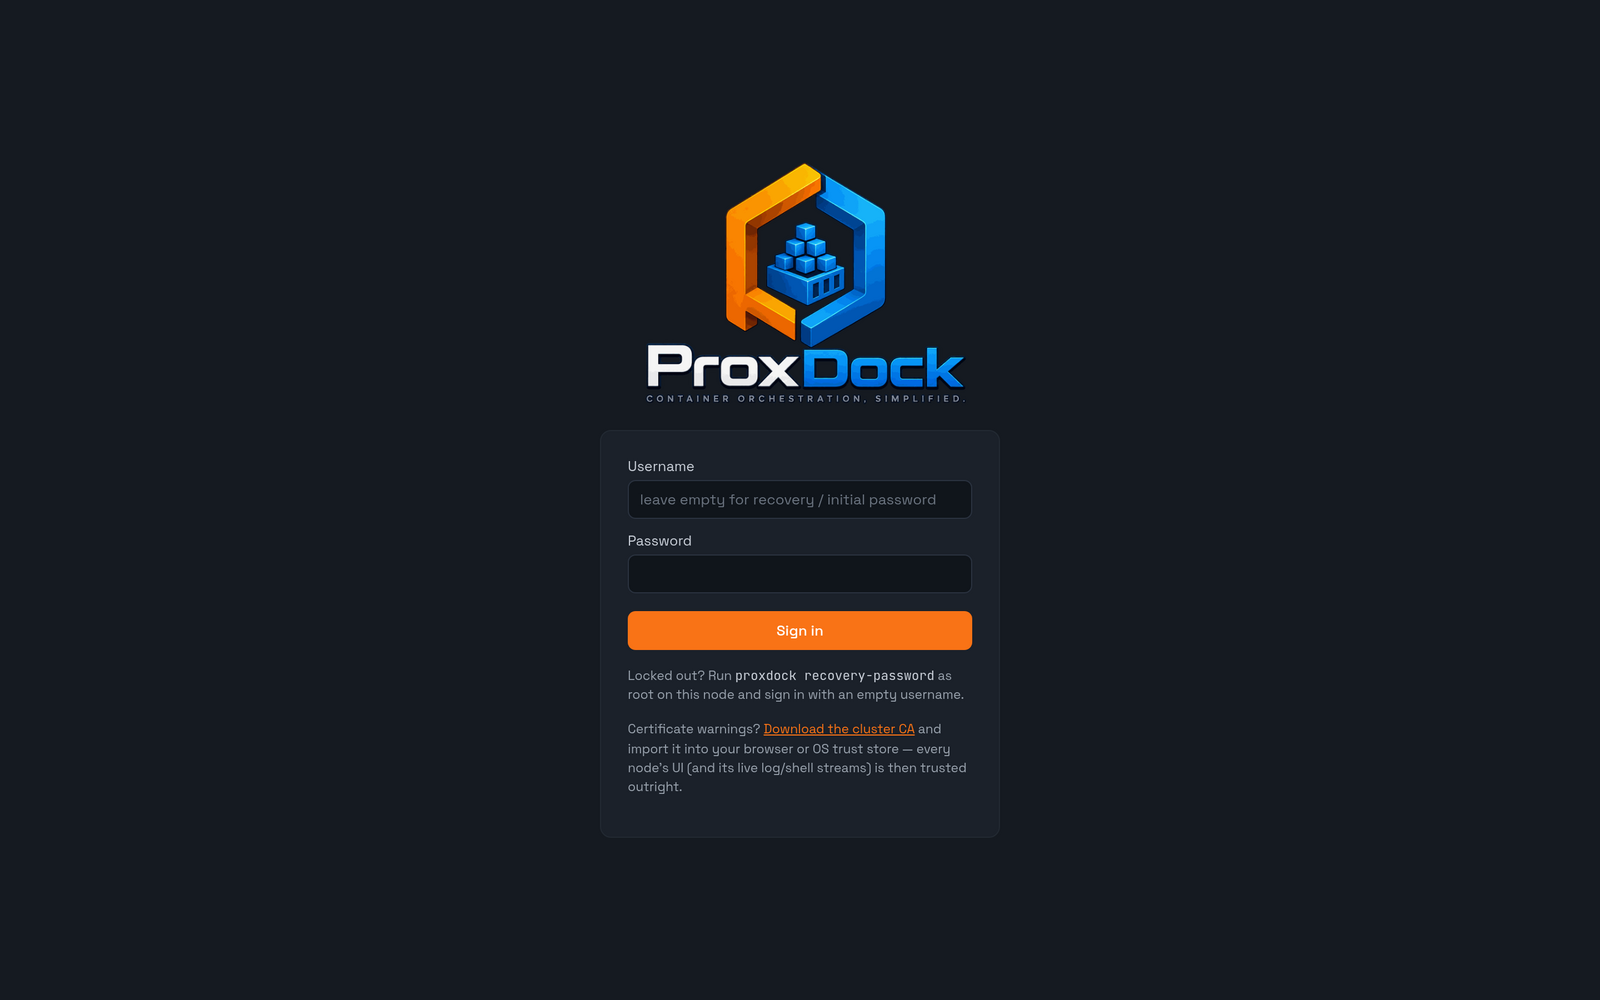
Signing in
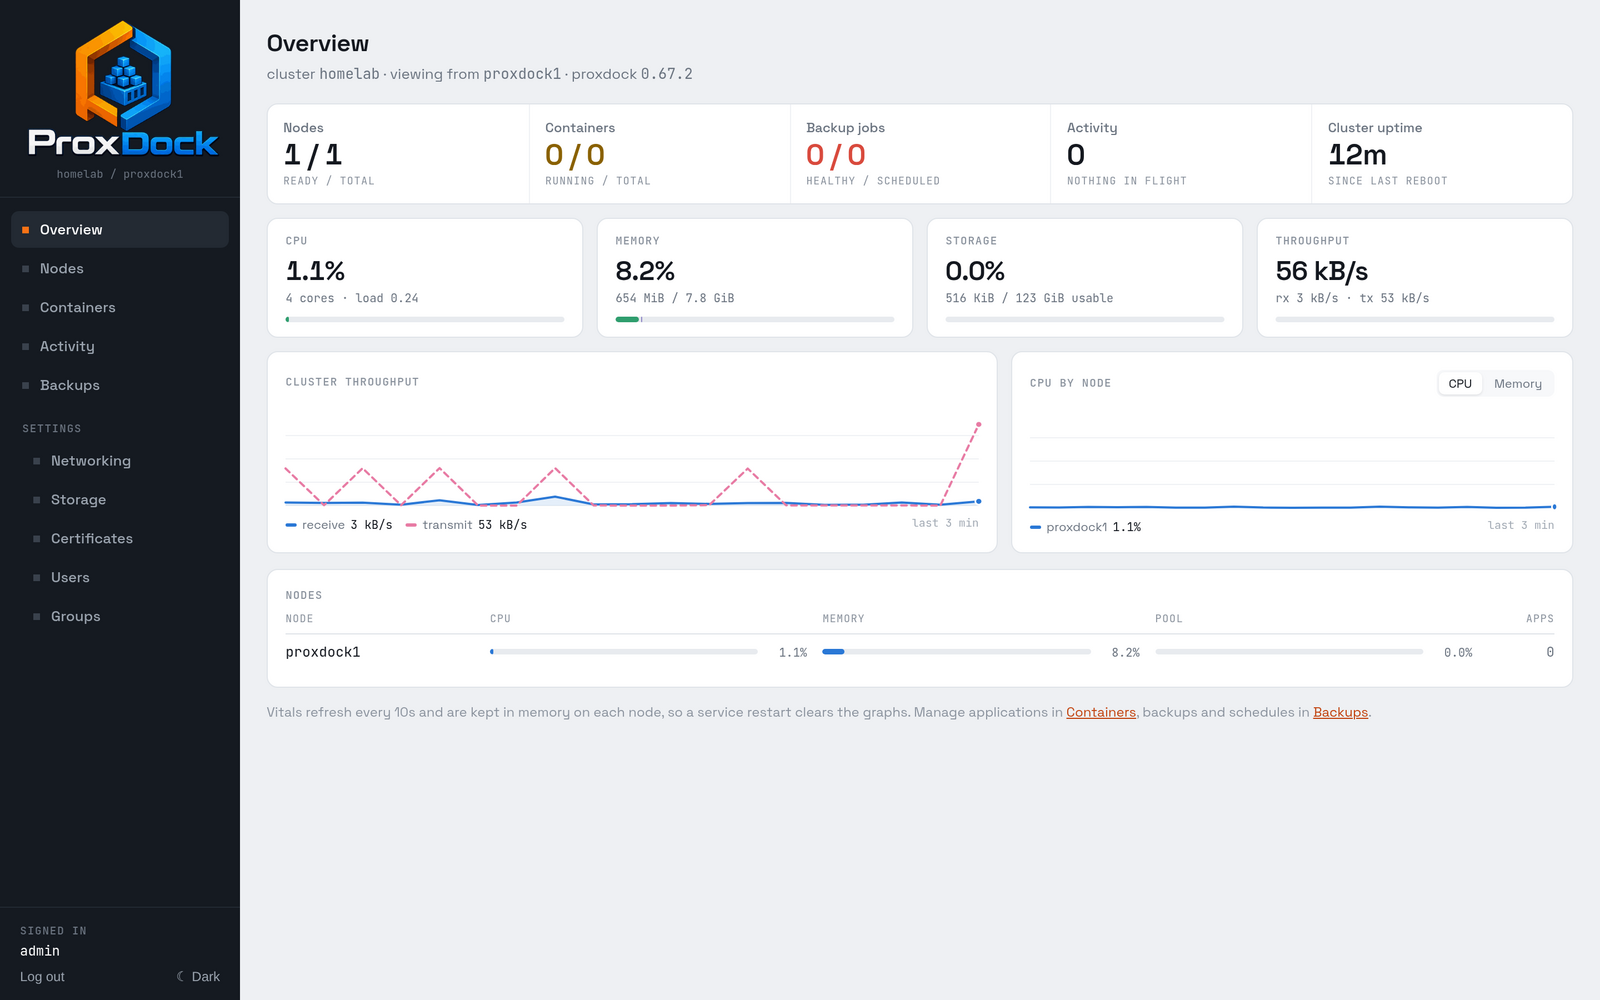
What you land on
The Overview is the whole cluster on one page: inventory counters across the top, aggregate CPU, memory, storage and throughput below them, then live charts and a per-node strip. On a fresh single-node cluster there is not much to see yet, which is itself a useful picture of what "healthy and empty" looks like.
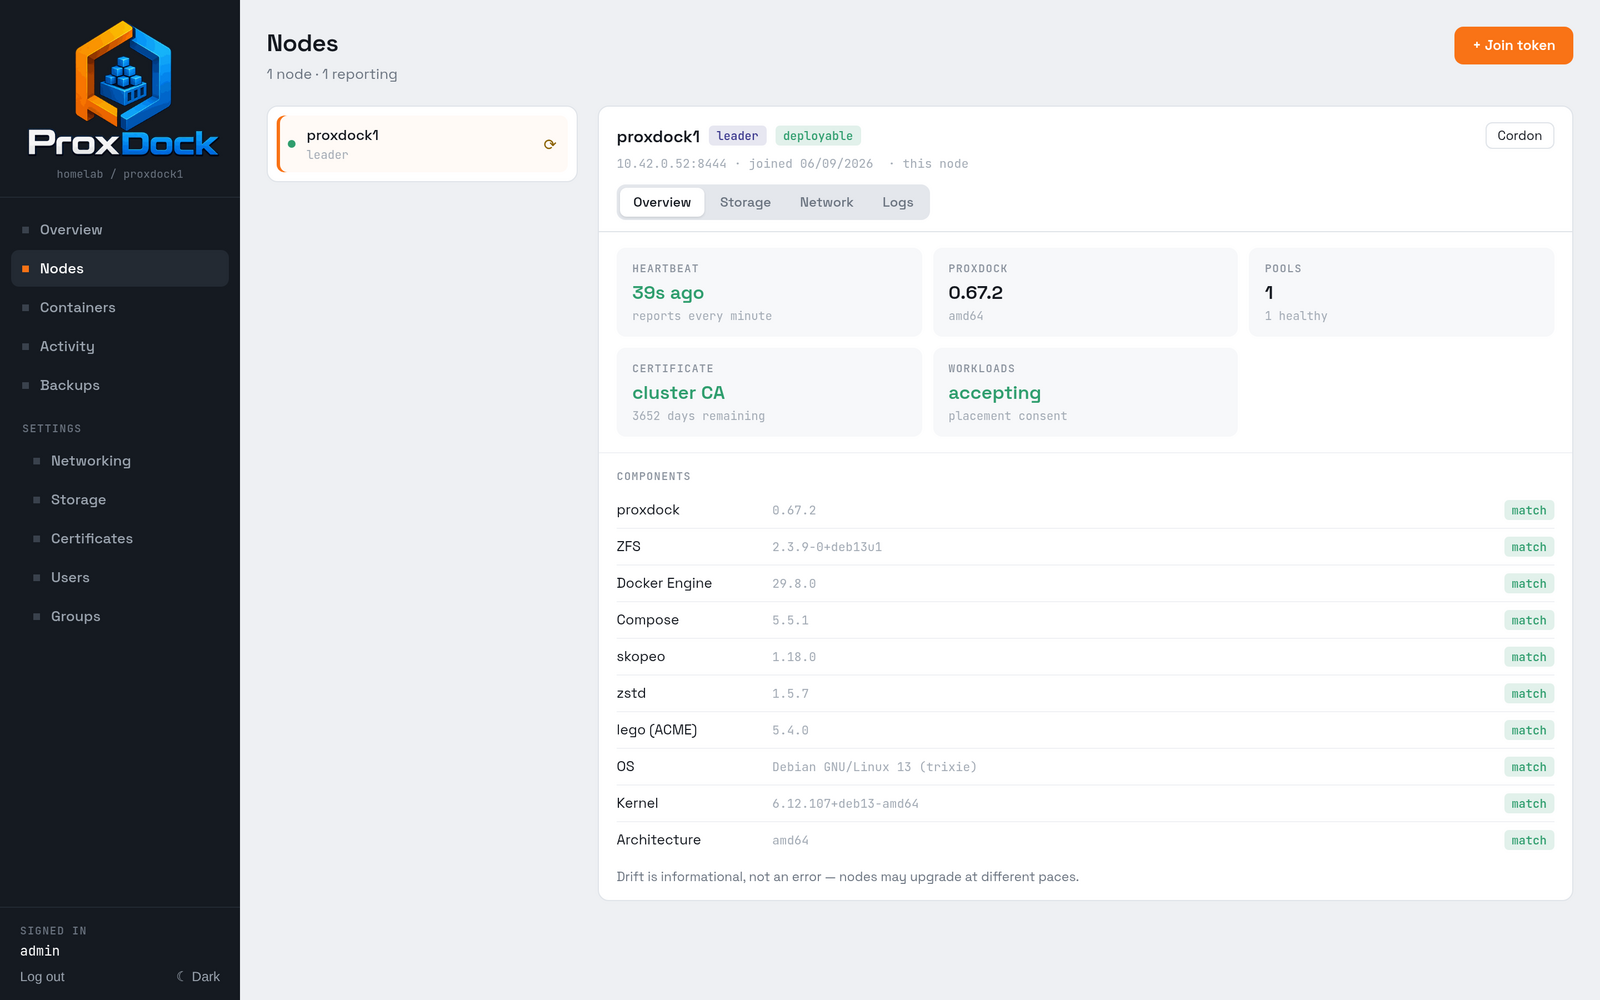
Nodes shows the cluster's members, which one holds the Raft leadership, and each node's replica state. The components table is a drift check: it lists the versions of everything ProxDock drives so a node running an odd ZFS or Docker is visible rather than surprising.
Settings → Networking lists the zones you defined, cluster-wide.
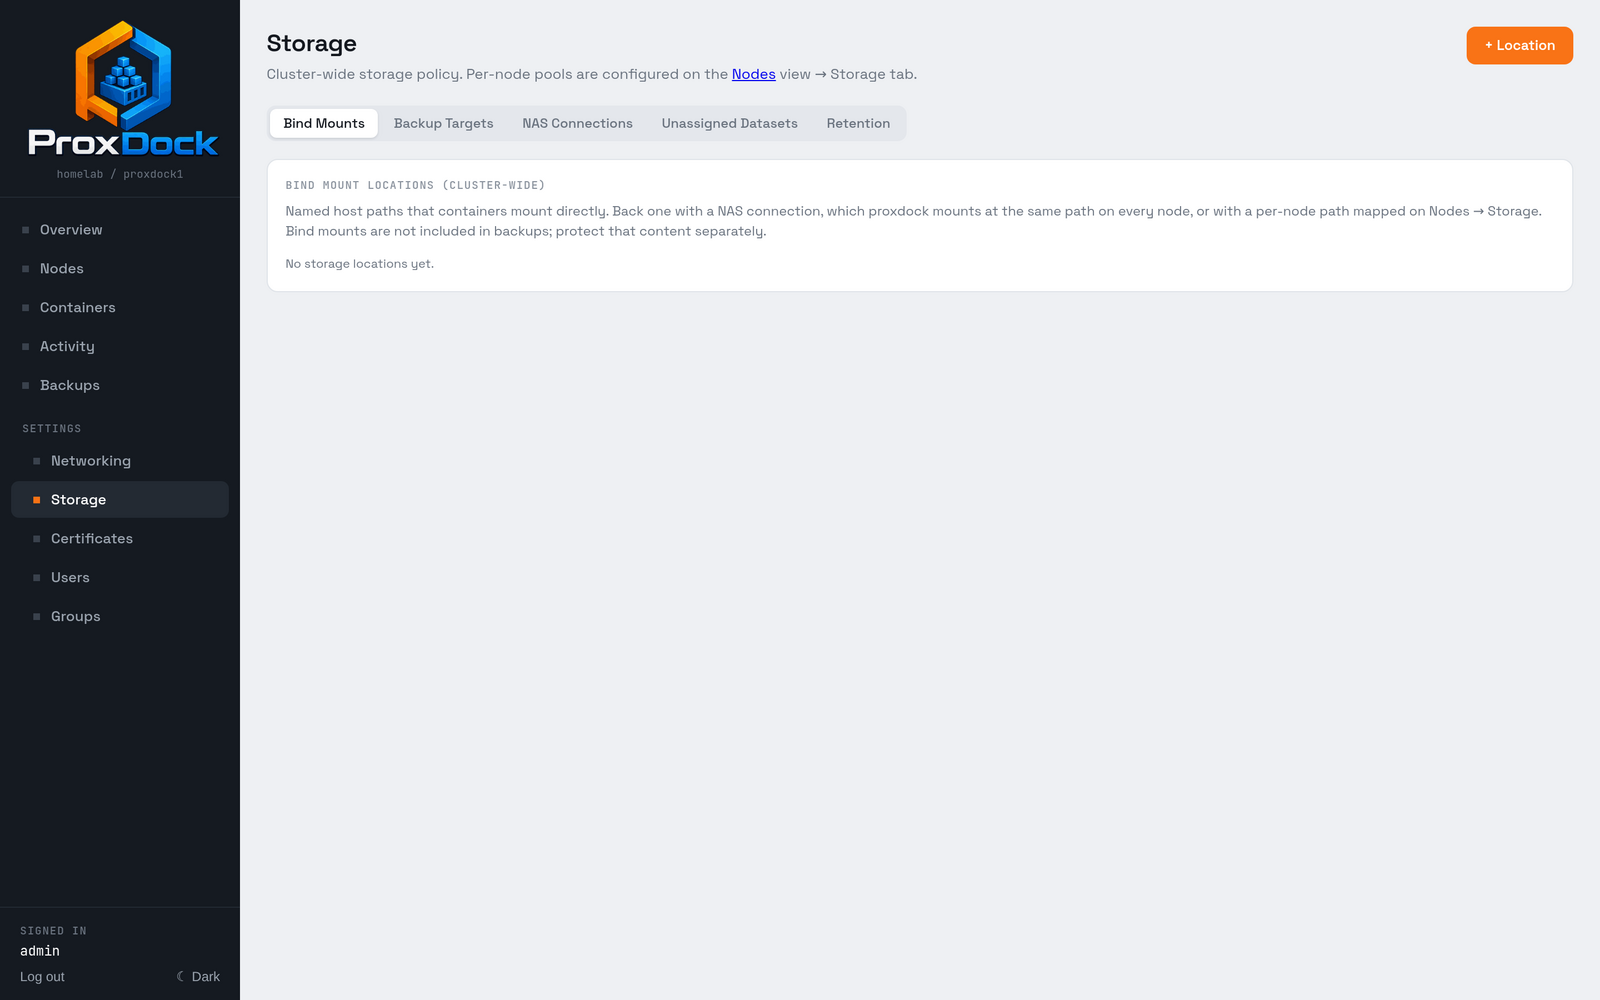
Settings → Storage shows the pools this node offers and the cluster-wide storage locations.
Where to go next
Nothing is deployed yet. Containers is where applications are created, either from a bundled template or from a Compose file of your own.
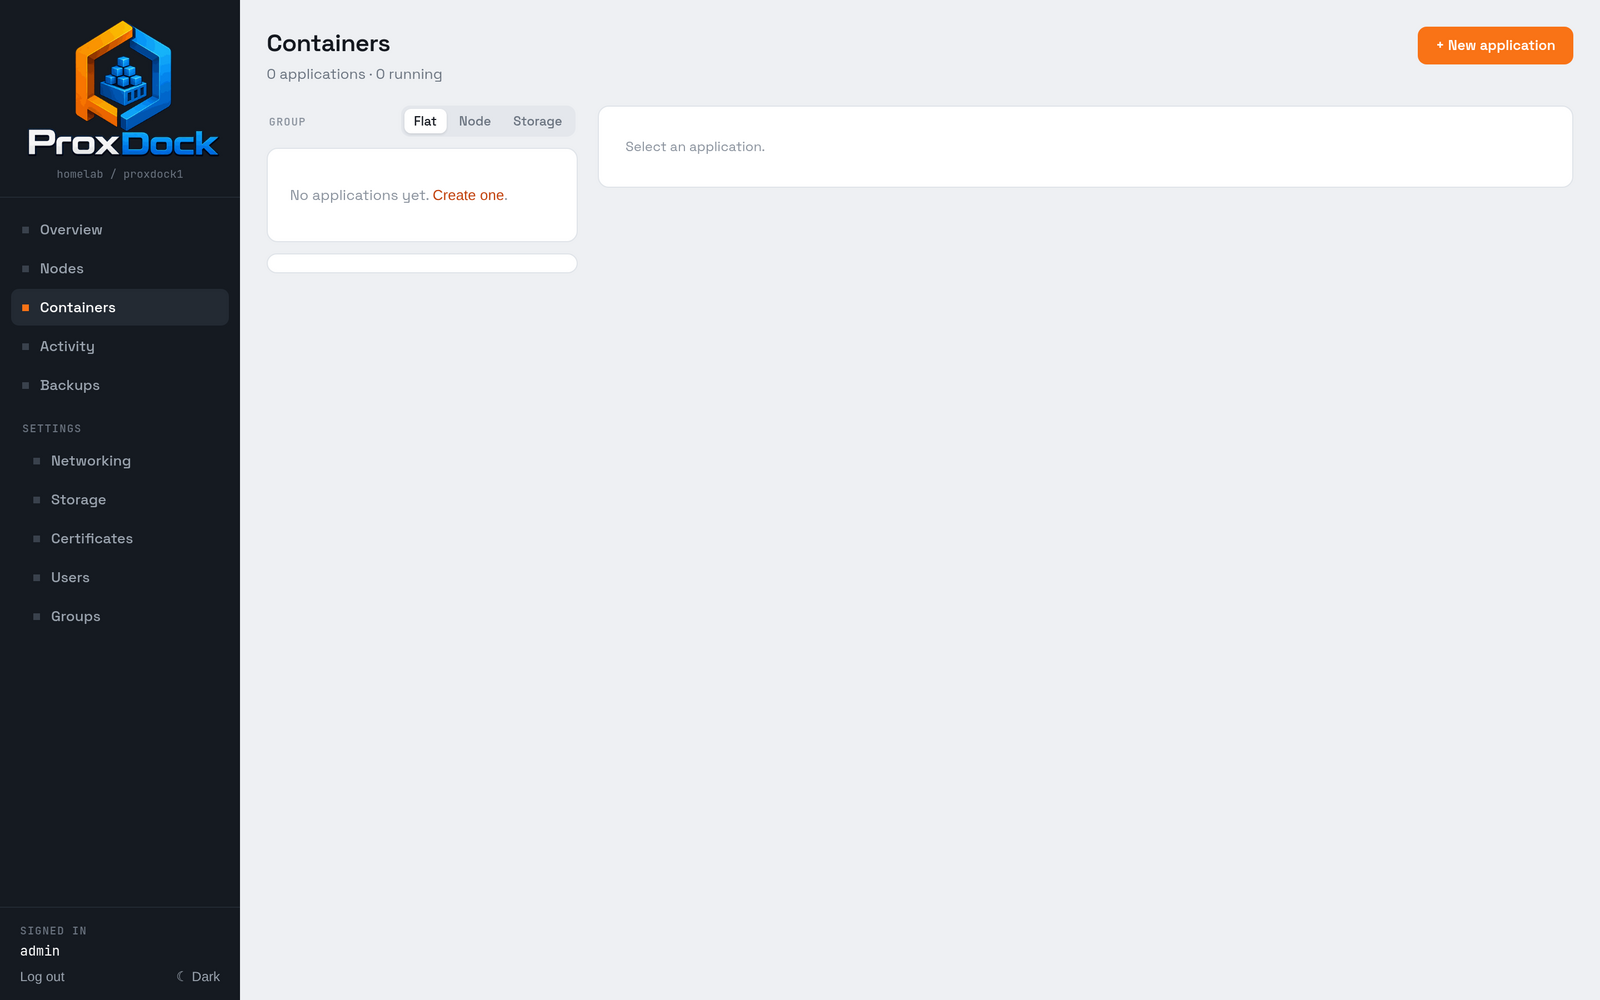
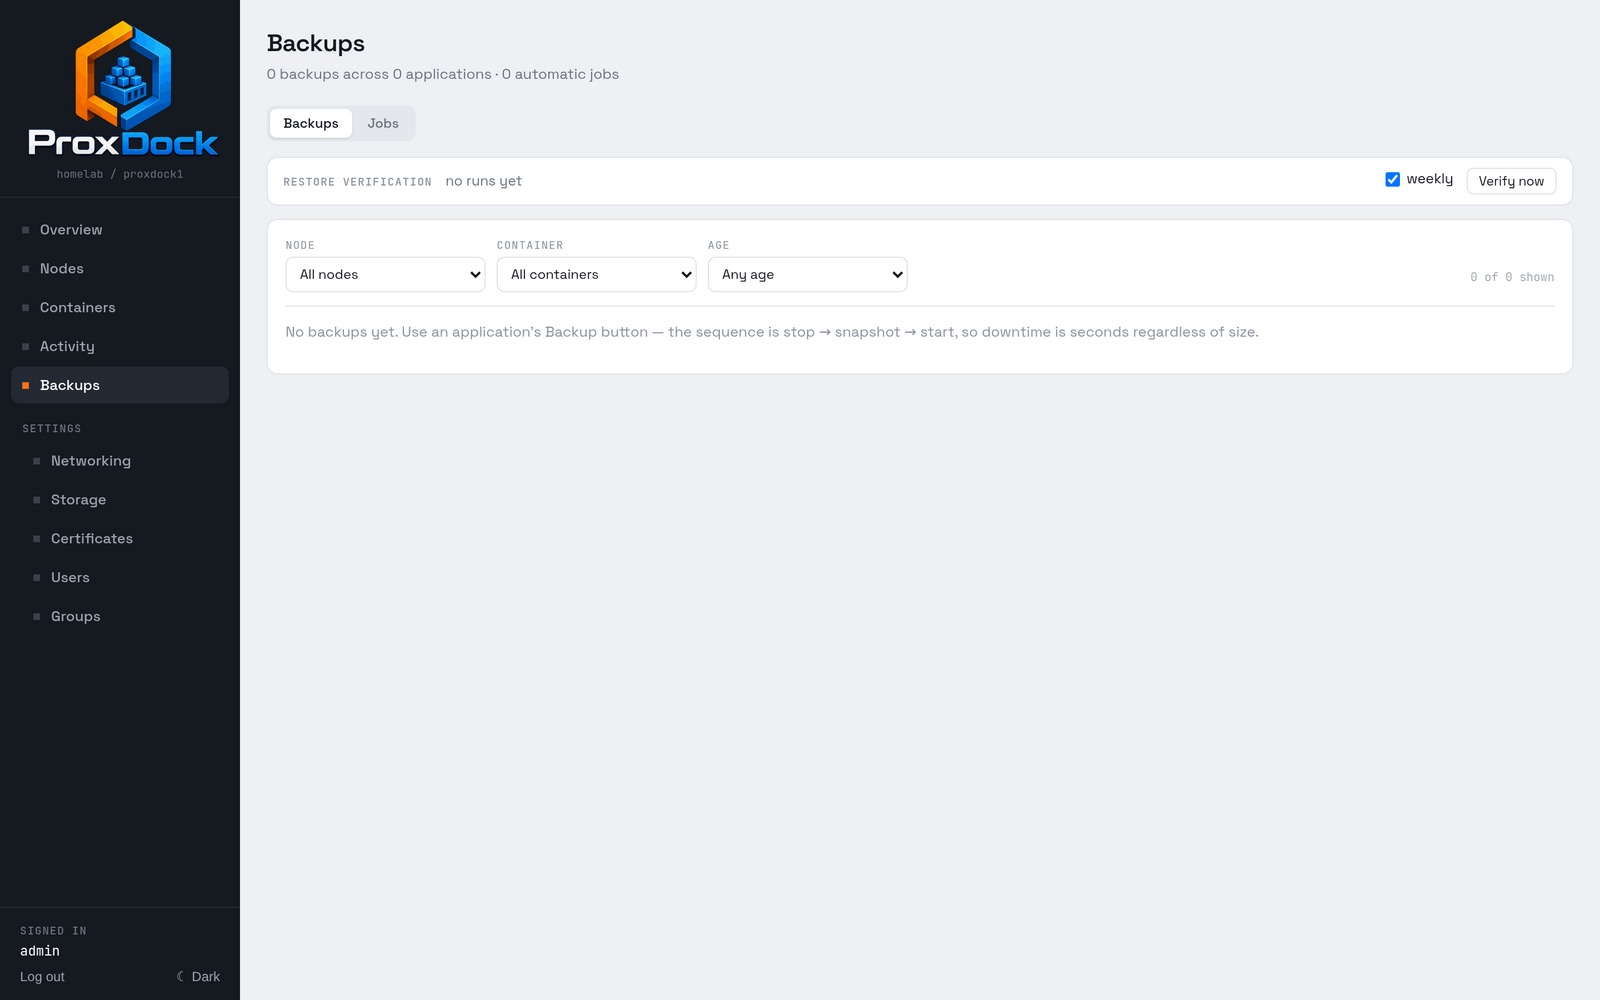
Backups is empty for the same reason. A backup job is defined per application, so there is nothing to schedule until something is deployed.
- Compose files — what the transformation changes, and what it refuses
- Backups and restore — send streams, retention, restoring under a new name
- Running a cluster — adding nodes, quorum, migration